Do you remember the sheer delight of twisting open an Oreo cookie, savoring the creamy filling, and dunking it into a glass of milk? That simple pleasure is now reimagined in the form of Oreo Cupcakes a dessert that combines the nostalgic charm of Oreos with the indulgent appeal of cupcakes. Whether you’re planning a birthday party, hosting a casual get-together, or simply treating yourself, these cupcakes are guaranteed to be a hit. If you love rich, indulgent treats, you might also enjoy this Chocolate Pound Cake a dense and chocolatey delight that pairs perfectly with a glass of milk!
In this guide, you’ll discover everything you need to know about Oreo Cupcakes. From a foolproof recipe to creative variations and presentation tips, we’ve got you covered. By the end, you’ll be ready to whip up a batch of these irresistible treats that will leave everyone asking for more.
Ready to dive in? Let’s get started!
Table of contents
Why Oreo Cupcakes Are a Must-Try Dessert
The Perfect Blend of Flavors
Oreo Cupcakes are a match made in dessert heaven. The rich, chocolatey base pairs perfectly with the creamy Oreo filling, creating a flavor combination that’s hard to resist. If you’re a fan of chocolate and cookies, you should also check out these Churro Cheesecake bars a fun, crispy twist on a creamy dessert classic. Whether you’re a fan of the classic Oreo or prefer the double-stuffed version, these cupcakes capture the essence of the beloved cookie in every bite.
What makes them even more special is their universal appeal. Kids love them for their sweetness, while adults appreciate the nostalgic touch. It’s a dessert that bridges generations, making it perfect for family gatherings or office parties.
Versatility for Any Occasion
One of the best things about Oreo Cupcakes is their versatility. They’re not just for birthdays—they can be the star of any celebration. Holiday party? Check. Baby shower? Absolutely. Just because it’s Tuesday? Why not!
Did you know that Oreo is one of the top-selling cookies globally, with over 40 billion produced annually? This popularity translates seamlessly into desserts like Oreo Cupcakes, which have become a favorite among bakers and dessert enthusiasts alike.
How to Make Oreo Cupcakes: A Step-by-Step Guide
Creating Oreo Cupcakes from scratch might sound intimidating, but it’s easier than you think. With a few simple ingredients and some basic baking skills, you can whip up a batch of these decadent treats in no time. Let’s break it down step by step.
Ingredients You’ll Need
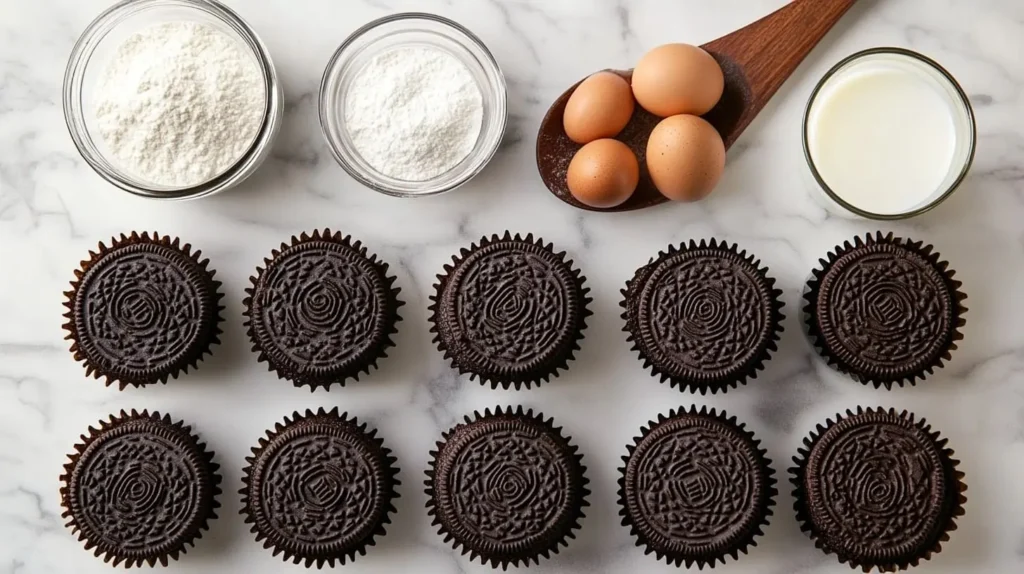
Before you start, gather all your ingredients. Here’s a handy table to help you stay organized:
| Cupcake Ingredients | Frosting Ingredients |
|---|---|
| 1 ½ cups all-purpose flour | 1 cup unsalted butter (softened) |
| ½ cup cocoa powder | 3 cups powdered sugar |
| 1 cup granulated sugar | 1 tsp vanilla extract |
| 1 tsp baking soda | 2-3 tbsp heavy cream |
| ½ tsp salt | 8 Oreo cookies (crushed) |
| 1 cup buttermilk | |
| ½ cup vegetable oil | |
| 2 large eggs | |
| 10 Oreo cookies (crushed) |

Step-by-Step Instructions
Follow these steps to create your Oreo Cupcakes:
- Preheat the Oven: Start by preheating your oven to 350°F (175°C). Line a muffin tin with cupcake liners.
- Mix Dry Ingredients: In a large bowl, whisk together the flour, cocoa powder, granulated sugar, baking soda, and salt.
- Add Wet Ingredients: Pour in the buttermilk, vegetable oil, and eggs. Mix until the batter is smooth and well combined.
- Fold in Crushed Oreos: Gently fold in the crushed Oreo cookies. This adds texture and an extra burst of Oreo flavor.

- Fill the Liners: Spoon the batter into the cupcake liners, filling each about two-thirds full.
- Bake: Place the muffin tin in the oven and bake for 18-20 minutes. To check if they’re done, insert a toothpick into the center of a cupcake—if it comes out clean, they’re ready.
- Cool: Let the cupcakes cool in the tin for 5 minutes, then transfer them to a wire rack to cool completely before frosting.
Tips for Perfect Oreo Cupcakes
Creating the perfect Oreo Cupcakes isn’t just about following a recipe—it’s about mastering a few key techniques that elevate your baking game. Whether you’re a seasoned baker or a beginner, these tips will help you achieve cupcakes that are moist, flavorful, and utterly irresistible.
1. Use High-Quality Cocoa Powder
The secret to a rich, decadent chocolate flavor lies in the quality of your cocoa powder. Opt for a high-quality, unsweetened cocoa powder rather than a cheaper alternative. Premium cocoa powder has a deeper, more intense flavor that complements the sweetness of the Oreos perfectly. If you’re feeling adventurous, you can even experiment with dark cocoa powder for an even richer taste. Remember, the cocoa powder is the backbone of your cupcake’s flavor, so don’t skimp on this ingredient.
2. Don’t Overmix the Batter
One of the most common mistakes in baking is overmixing the batter. When you overmix, you risk developing too much gluten, which can result in dense, tough cupcakes instead of the light, fluffy texture you’re aiming for. To avoid this, mix your dry and wet ingredients just until they’re combined. A few small lumps in the batter are perfectly fine—they’ll dissolve during baking. If you’re using a stand mixer or hand mixer, keep it on a low speed and stop as soon as the ingredients are incorporated.
3. Add a Surprise Oreo Piece
Want to take your Oreo Cupcakes to the next level? Add a small Oreo piece at the bottom of each cupcake liner before pouring in the batter. This creates a delightful surprise for anyone biting into the cupcake, as they’ll discover a hidden layer of Oreo goodness. It’s a simple trick that adds both texture and flavor, making your cupcakes even more memorable. Plus, it’s a fun way to incorporate more of the iconic cookie into every bite.
4. Measure Ingredients Accurately
Baking is a science, and precision matters. Use measuring cups and spoons for dry ingredients, and a liquid measuring cup for wet ingredients. For the most accurate results, consider using a kitchen scale to weigh your ingredients, especially the flour. Too much flour can make your cupcakes dry, while too little can result in a flat, underbaked texture.
5. Don’t Overfill the Liners
It’s tempting to fill the cupcake liners to the top, but resist the urge! Overfilling can cause the batter to spill over the edges, creating a mess in your oven and unevenly baked cupcakes. Instead, fill each liner about two-thirds full. This allows the cupcakes to rise evenly and creates the perfect dome shape for frosting.
6. Let the Cupcakes Cool Completely Before Frosting
Patience is key when it comes to frosting your cupcakes. If you try to frost them while they’re still warm, the frosting will melt and slide right off. Let the cupcakes cool in the pan for about 5 minutes, then transfer them to a wire rack to cool completely. This ensures that your frosting stays in place and looks as good as it tastes.
7. Experiment with Frosting Techniques
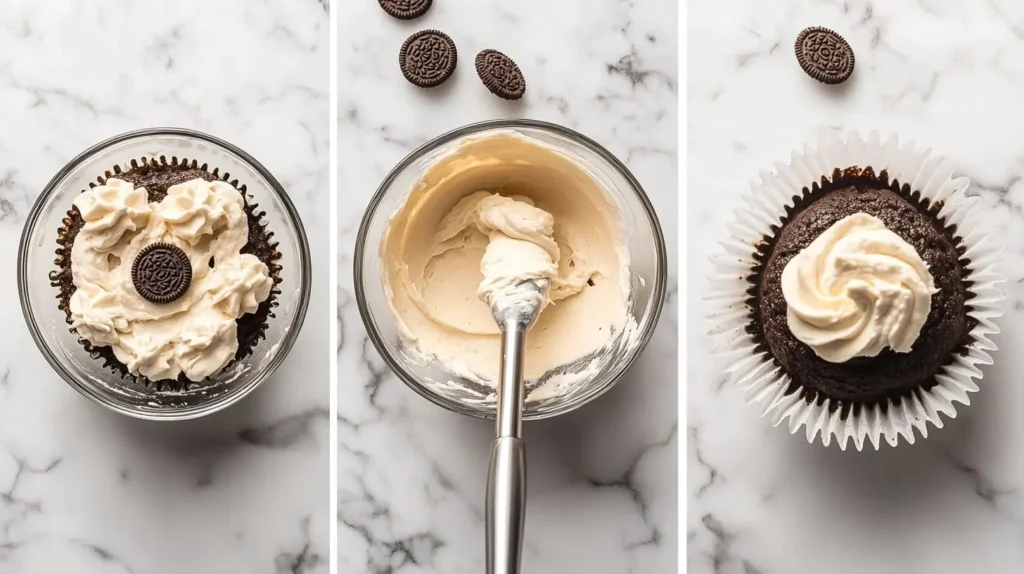
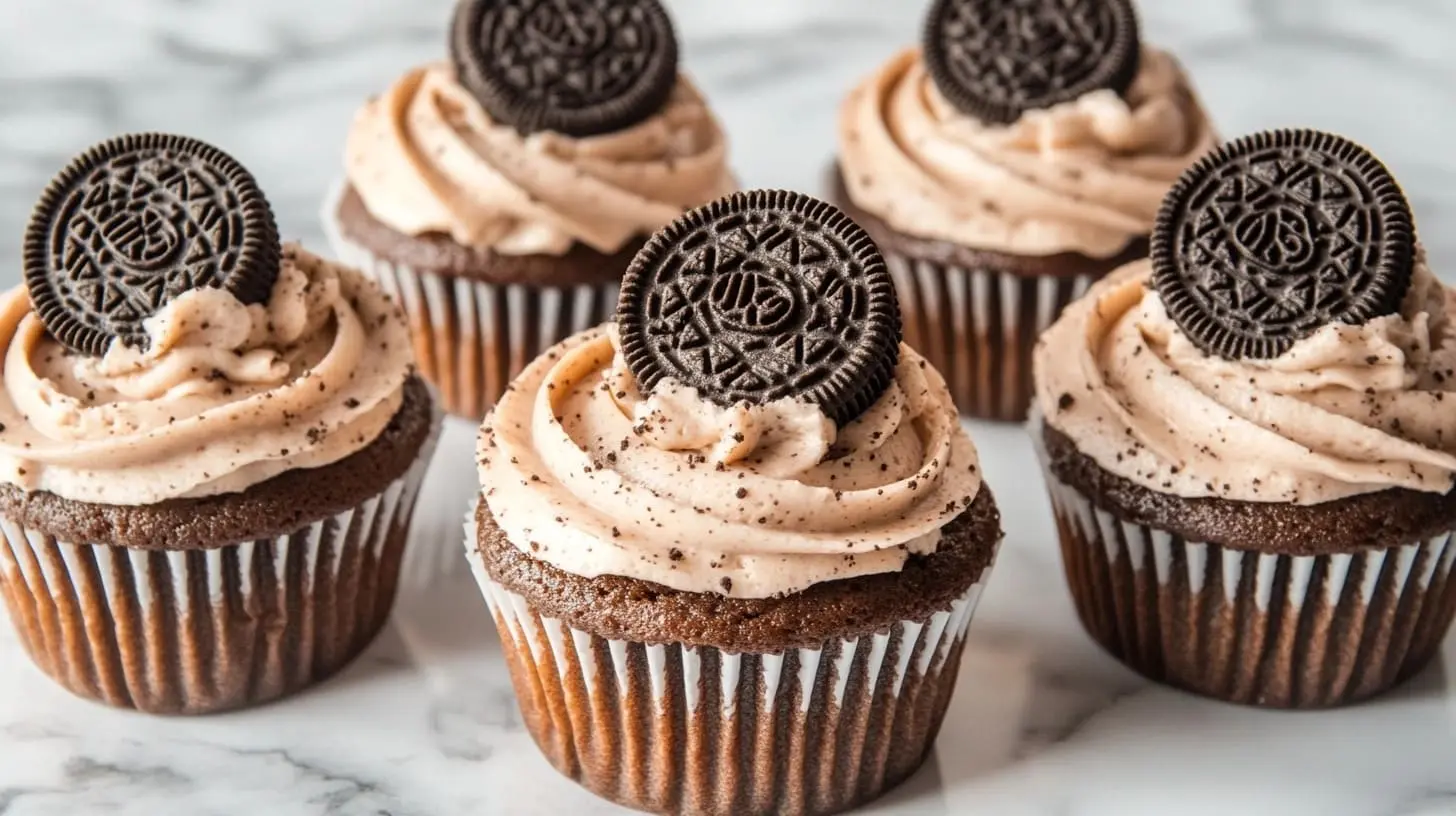
The frosting is the crowning glory of your Oreo Cupcakes, so don’t be afraid to get creative. If you’re looking for another fun frosting idea, check out this Cake Balls Recipe a bite-sized treat that’s just as fun to decorate! Use a piping bag with a star tip for a professional look, or simply spread the frosting with a knife for a more rustic appearance. You can also top each cupcake with a whole or halved Oreo cookie for an extra touch of elegance.
Creative Variations of Oreo Cupcakes
Once you’ve mastered the classic Oreo Cupcake recipe, why not experiment with some creative twists? These variations add a unique spin to the traditional treat, making them perfect for different tastes and occasions.
Oreo Cheesecake Cupcakes
If you’re a fan of cheesecake, this variation is for you. It combines the creamy richness of cheesecake with the crunch of Oreo cookies. If you’re looking for another show-stopping cheesecake, try this Reese’s Caramel Cheesecake a peanut butter and chocolate lover’s dream!
How to Make Them:
- Prepare an Oreo crust by crushing 12 Oreo cookies and mixing them with 3 tablespoons of melted butter. Press this mixture into the bottom of each cupcake liner.
- In a separate bowl, beat 16 oz of cream cheese, ½ cup of sugar, and 1 tsp of vanilla extract until smooth.
- Add 2 eggs, one at a time, mixing well after each addition.
- Fold in ½ cup of crushed Oreos.
- Pour the cheesecake batter over the crust and bake at 325°F (160°C) for 20-25 minutes.
- Let cool, then refrigerate for at least 2 hours before serving.
Vegan Oreo Cupcakes
For those who follow a plant-based diet, vegan Oreo Cupcakes are a delicious alternative.
How to Make Them:
- Replace the eggs with flax eggs (1 tbsp ground flaxseed + 2.5 tbsp water per egg).
- Use almond milk or soy milk instead of buttermilk.
- Substitute dairy butter with vegan butter in the frosting.
- Ensure the Oreos you use are vegan-friendly (some varieties contain dairy).
Mini Oreo Cupcakes
Mini cupcakes are perfect for parties or when you want a bite-sized treat.
How to Make Them:
- Use a mini muffin tin and liners.
- Reduce the baking time to 10-12 minutes.
- Top each mini cupcake with a dollop of frosting and a mini Oreo cookie.
Serving and Presentation Ideas for Oreo Cupcakes
Presentation is key when it comes to desserts. Here are some ideas to make your Oreo Cupcakes look as good as they taste.
Topping Suggestions
- Crushed Oreos: Sprinkle crushed Oreos on top of the frosting for added texture. For another fun topping idea, consider using crumbles from this Strawberry Crunch Cheesecake to add a pop of color and fruity flavor!
- Chocolate Drizzle: Melt some chocolate and drizzle it over the cupcakes for a gourmet touch.
- Whipped Cream: Add a swirl of whipped cream for a lighter, fluffier topping.
Pairing with Beverages
- Milk: A classic choice that complements the Oreo flavor. If you’re looking for another sweet pairing, try this Brown Sugar Shaken Espresso a delicious coffee drink that balances out the sweetness of your cupcakes.
- Coffee: The bitterness of coffee balances the sweetness of the cupcakes.
- Red Wine: For adults, a glass of red wine can be a sophisticated pairing.
Decorating for Special Occasions
- Themed Liners: Use cupcake liners that match the theme of your event.
- Edible Glitter: Add a touch of sparkle with edible glitter or sprinkles.
- Custom Toppers: Create custom toppers with messages or images that fit the occasion.
FAQs About Oreo Cupcakes
When it comes to Oreo Cupcakes, it’s natural to have a few questions. Whether you’re curious about ingredients, storage, or decorating tips, we’ve got you covered. Here are some of the most frequently asked questions, along with detailed answers to help you master the art of Oreo Cupcakes.
1. What is Oreo Frosting Made Of?
Oreo frosting is a creamy, decadent topping that perfectly complements the chocolatey base of the cupcakes. If you love experimenting with frosting flavors, you might also enjoy this Chocolate Cobbler a rich, gooey dessert perfect for chocolate lovers! The classic recipe includes:
- Butter: Unsalted butter forms the base of the frosting, providing a rich and smooth texture.
- Powdered Sugar: This adds sweetness and helps thicken the frosting.
- Vanilla Extract: A touch of vanilla enhances the overall flavor.
- Heavy Cream: This makes the frosting light and fluffy.
- Crushed Oreos: The star ingredient! Fold in finely crushed Oreo cookies for that signature Oreo flavor and a bit of crunch.
For an extra twist, you can also add a tablespoon of cocoa powder to the frosting for a deeper chocolate flavor.
2. Can You Eat 2-Week-Old Cupcakes?
While cupcakes are best enjoyed fresh, properly stored cupcakes can last for a few days. However, eating 2-week-old cupcakes is not recommended. Here’s why:
- Texture: After a week, cupcakes tend to dry out and lose their moist, fluffy texture.
- Flavor: The flavors may diminish over time, and the frosting could become grainy or separate.
- Safety: If stored at room temperature, cupcakes can develop mold or bacteria after a few days.
Storage Tips:
- Store cupcakes in an airtight container at room temperature for up to 3 days.
- For longer storage, refrigerate them for up to a week or freeze them for up to 2 months.
If your cupcakes are past their prime, it’s better to play it safe and bake a fresh batch.
3. How to Decorate Covered Oreos?
Decorating Oreos is a fun and creative way to add a personal touch to your cupcakes. Here’s how you can do it:
- Dipped Oreos: Melt chocolate (dark, milk, or white) and dip half of each Oreo into the melted chocolate. Let it set on a parchment-lined tray.
- Sprinkles: While the chocolate is still wet, add colorful sprinkles for a festive look.
- Drizzled Designs: Use a piping bag or a spoon to drizzle contrasting chocolate over the dipped Oreos.
- Edible Glitter: Add a touch of sparkle with edible glitter or luster dust.
- Custom Toppers: Attach small fondant shapes or edible images to the Oreos using a dab of frosting.
These decorated Oreos can be placed on top of your cupcakes for a stunning presentation.
4. How to Frost a Cupcake for Beginners?
Frosting cupcakes might seem intimidating, but with a few simple techniques, you’ll be a pro in no time. Here’s a beginner-friendly guide:
What You’ll Need:
- A piping bag (or a resealable plastic bag with the corner snipped off)
- A piping tip (star tips are great for beginners)
- Frosting (homemade or store-bought)
Step-by-Step Instructions:
- Prepare the Frosting: Ensure your frosting is smooth and at the right consistency. If it’s too thick, add a splash of milk or cream. If it’s too thin, add more powdered sugar.
- Fill the Piping Bag: Spoon the frosting into the piping bag, filling it about halfway to avoid overflow.
- Pipe the Frosting: Hold the piping bag vertically above the cupcake, starting from the outer edge and working your way inward in a circular motion. Apply even pressure to create a swirl.
- Finish with a Flourish: When you reach the center, stop squeezing and lift the bag away to create a peak.
- Add Toppings: Sprinkle crushed Oreos, chocolate shavings, or sprinkles on top for extra flair.
Pro Tip: If you don’t have a piping bag, you can use a butter knife or offset spatula to spread the frosting evenly over the cupcakes.
Conclusion: Bake Your Way to Happiness with Oreo Cupcakes
Oreo Cupcakes are more than just a dessert; they’re a celebration of flavor, creativity, and joy. And if you’re looking for another fun baking project, try these Chocolate Smoothies a creamy, refreshing treat that’s just as indulgent! Whether you’re baking them for a special occasion or simply treating yourself, these cupcakes are sure to bring smiles to everyone’s faces.
From mastering the perfect recipe to experimenting with creative variations and decorating techniques, you now have all the tools you need to create unforgettable Oreo Cupcakes. So, what are you waiting for? Grab your apron, preheat the oven, and let’s bake some happiness!
Don’t forget to share your creations with friends and family or on social media! Tag us in your posts and let us know how your Oreo Cupcakes turned out. Happy baking!

